The functionality is available in a Business subscription.
Functionality that allows you to automate the launch of game accounts for games or launchers. You can get to the section for adding and editing license pools from the additional menu. To do this, click on Content and then click on the License pools tab from the drop-down list.
What is what?
The table consists of the following sections:
- Login and password of the account that will be automatically logged into.
- The account's status in the system. If the account is active, it participates in giving to users.
- Account status. When an account is issued to a user, it is marked as occupied and is assigned to a specific game place until the end of the session of the user who took this account.
The status of busy accounts can be tracked on the dashboard in the Licenses in Use widget.
License pool management
Click Create a group to create one.
In the modal window that opens:
- Fill in the title (from 3 to 24 characters);
- Game platform.
After clicking the Create button, you will get a pool in the general list and within this pool you can start adding game accounts directly.
How to Add Licenses
When you click on Add a license, another one will open where you need to fill in the login and password of the required account.
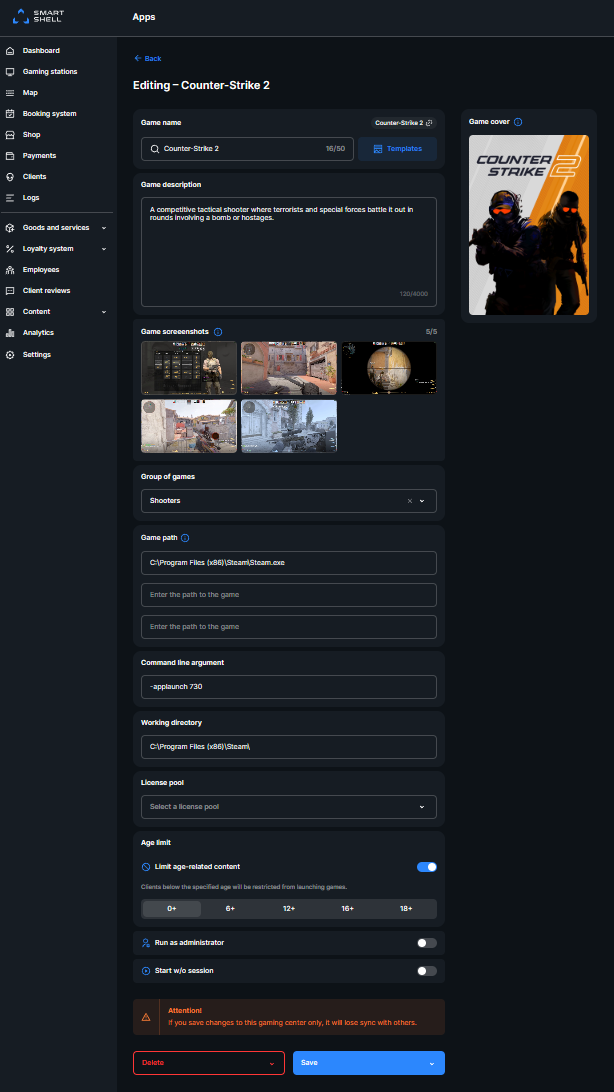
How to link a License Pool to a game or app
- Go to shell editing mode or to the content card in the control panel on the Apps tab.
-
In the License Pool section, select the appropriate group to launch.
IMPORTANT!
Several shortcuts can be attached to one license pool (for example, if you have purchased several games on one Steam account).
To remove an account from the pool
- Click on the desired account and select Edit.
- In editing, uncheck the activity status and save the changes. The account will change its status in the general list accordingly.
Read the recommendations for adding games and applications to make center accounts run properly read in our article.